
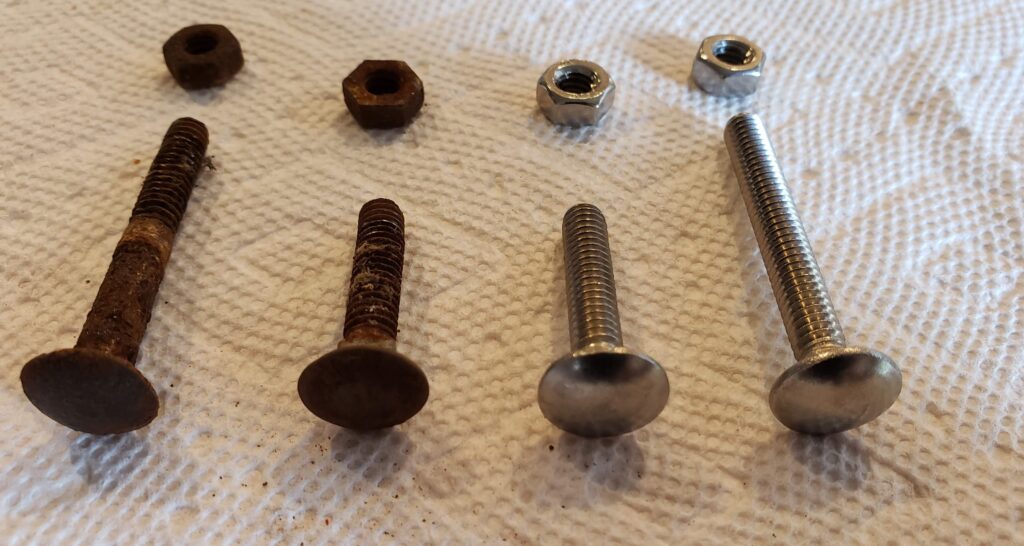
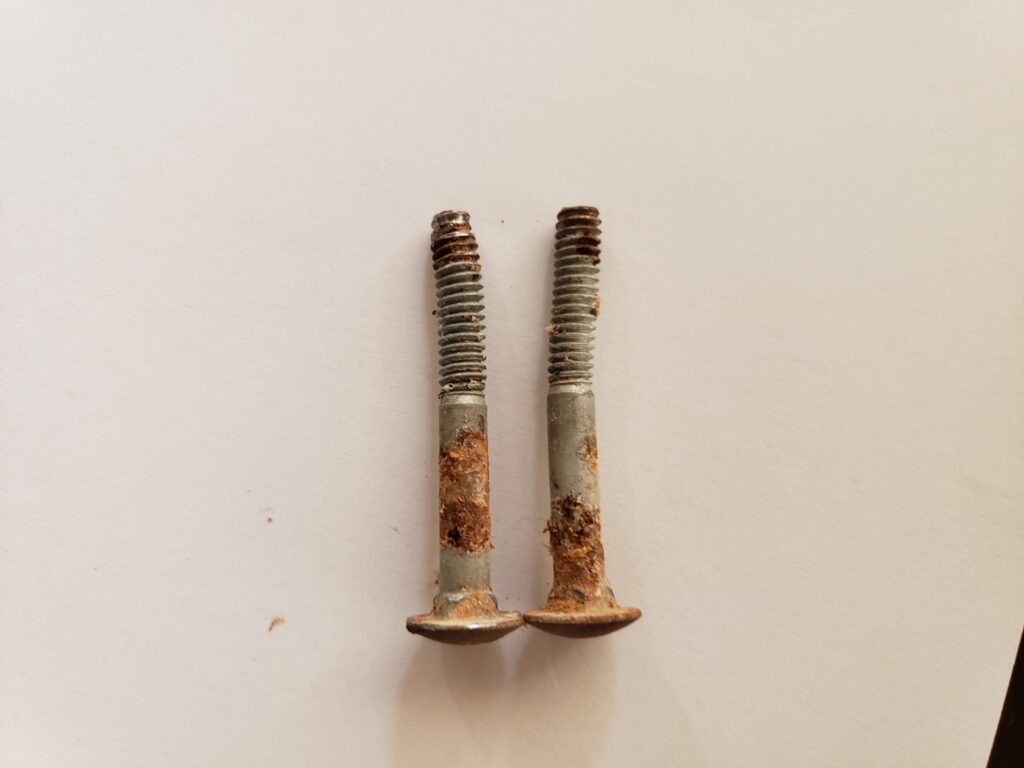
Last week I had two more Barwa Chairs delivered and much like our original one, the bolts were completely rusted. Replacing these is not a requirement to enjoy a new cover, but at a certain point we recommended to replace them. Not only is rust gross to look at, but flakes can fall off and stain the area near by. Trust me, rust is not your friend.
We recommend using stainless steel carriage bolts and nuts with smooth heads like we offer in our store. Carriage bolts are readily available at virtually any hardware store as well as a number of reputable online retailers. I found that a lot of them do not have smooth polished heads, and that makes sense as it’s not usually a requirement. For our use case it really matters as we’re tightly stretching fabric over these.
What type of Bolts are needed?
There are a few variations of Barwa frames out there. If you have one that doesn’t look like these pictured below, we’d love to include it and document it for others. Please send us pictures if you can. Here are the most common types:
Frame Type ‘A’
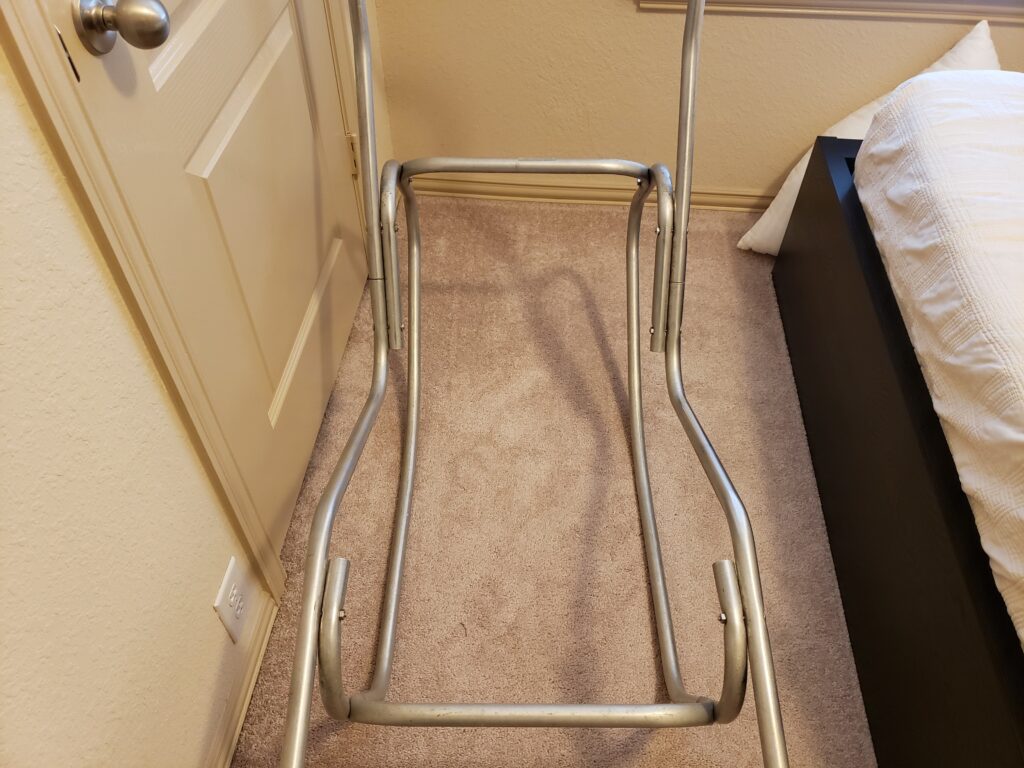
These frames have thicker 1 1/4″ aluminum tubing and can be identified by the single ‘U’ shaped leg support in the back of the chair that is attached with four bolts. These frames use:
- Qty 10 2 1/2″ carriage bolts (1/4-20)
- Qty 10 1/4 nuts (1/4-20)
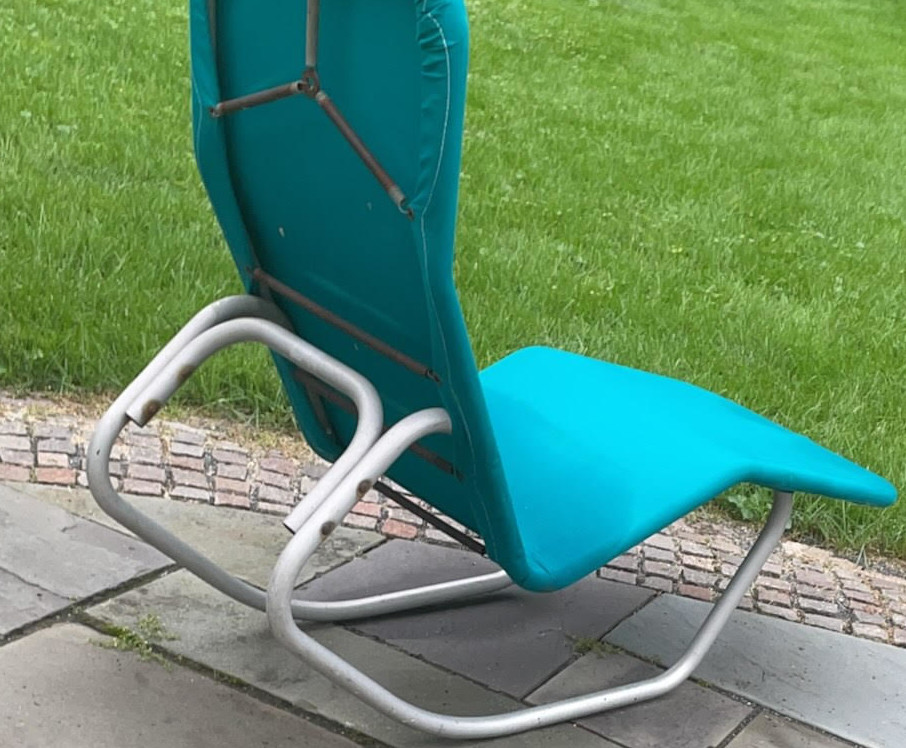
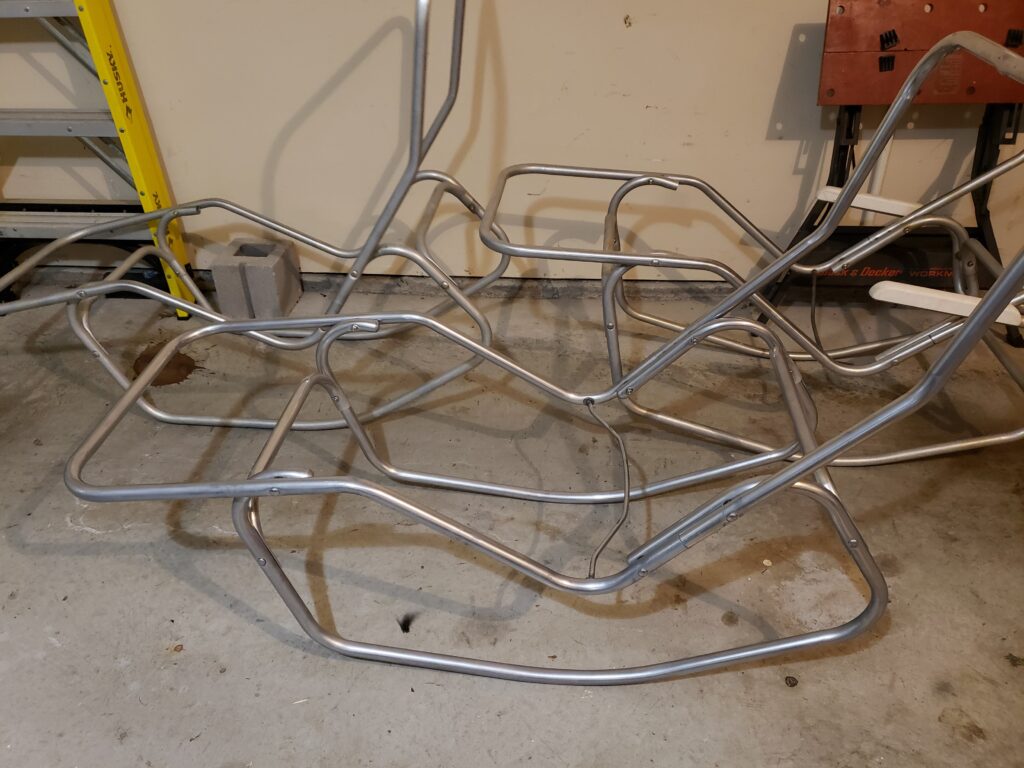
Frame Type ‘B’
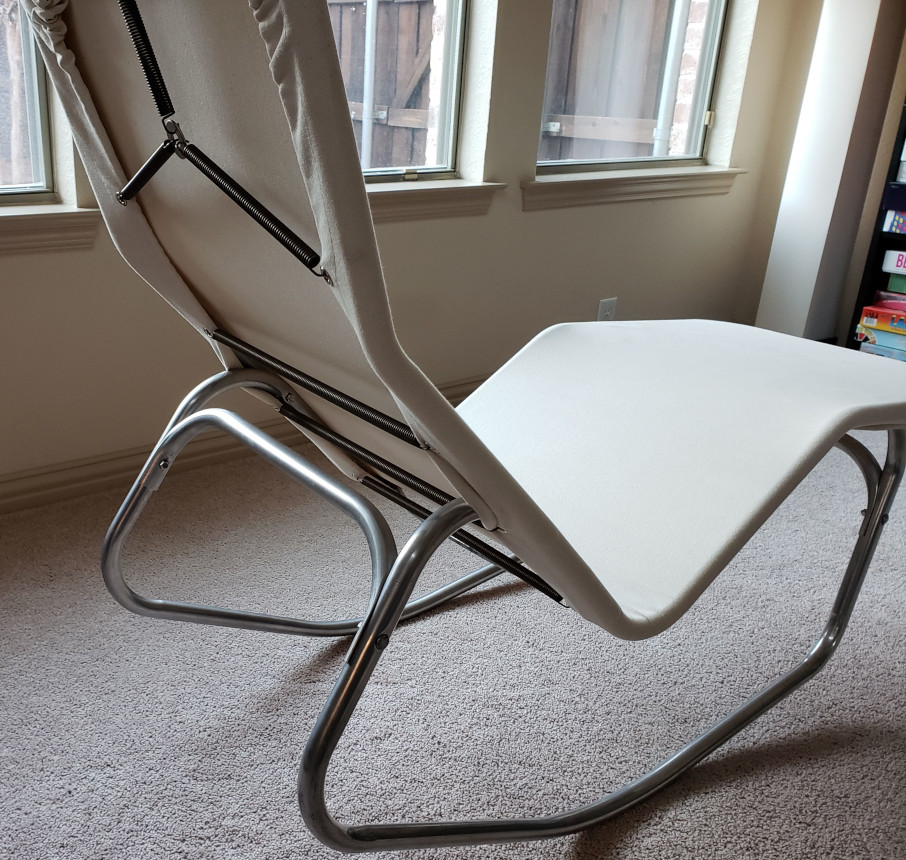
These frames have thinner 1 ” aluminum tubing and have two leg supports in the front and back of the chair. The tube is flattened on the support, thus allowing for a shorter bolts, and there’s a single hole on each side. These frames use:
- Qty 6 2″ bolts (1/4-20)
- Qty 4 1 1/4″ bolts (1/4-20)
- Qty 10 1/4 nuts (1/4-20)
Tips for Changing Bolts
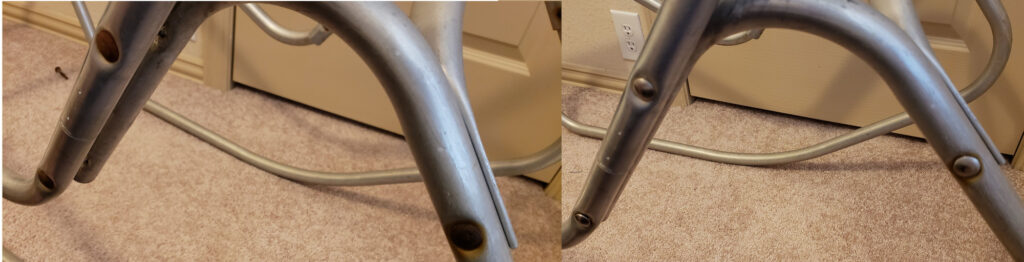
If you’re fortunate, a simple socket wrench will remove the bolts with out too much trouble. It’s common for the bolts to bend and after removing the nut, you may need to tap them with the wrench, or rubber mallet, a bit to help knock them loose. Installing the new bolts works as expected. Just make sure the head of the bolt is properly seated in the frame. I’ve found that the frame is easiest to reassemble on it’s side. Simply attach one of the legs on top side as shown below; flip it over and repeat. Then add the smaller bracing pieces between the legs and/or arm resets if your chair includes them.
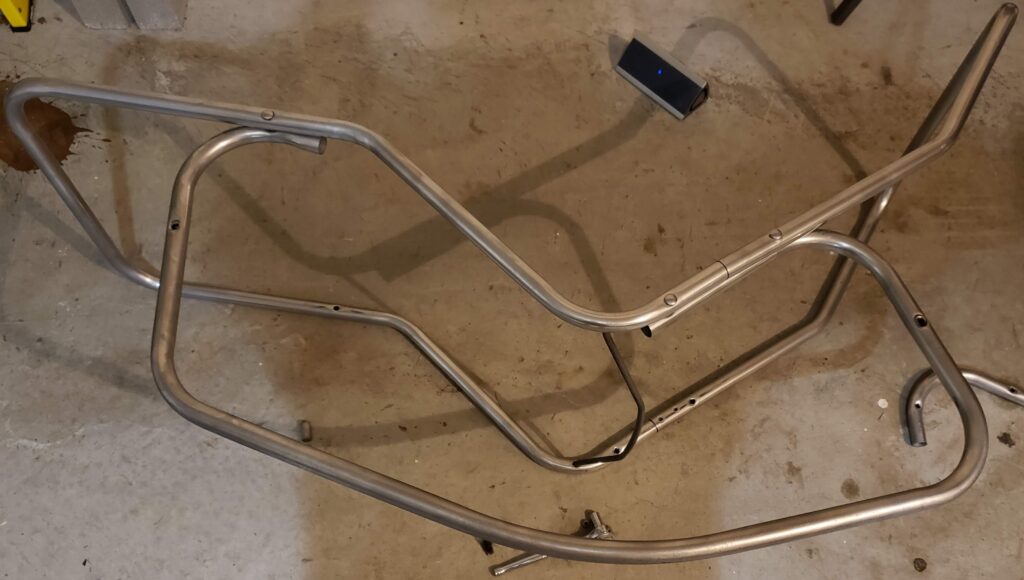
While your chair is taken apart, consider polishing the frame. It’s an investment in time and energy, but will really bring the chair to life. The pictures in this post show the frames unpolished as I received them. I have since polished them and they look much better. The one pictured above took about 1.5 hours to polish as it was in really good shape. The other one, that was much more “loved”, took closer to 2.5 hours to polish. Check out this post for my method of polishing.
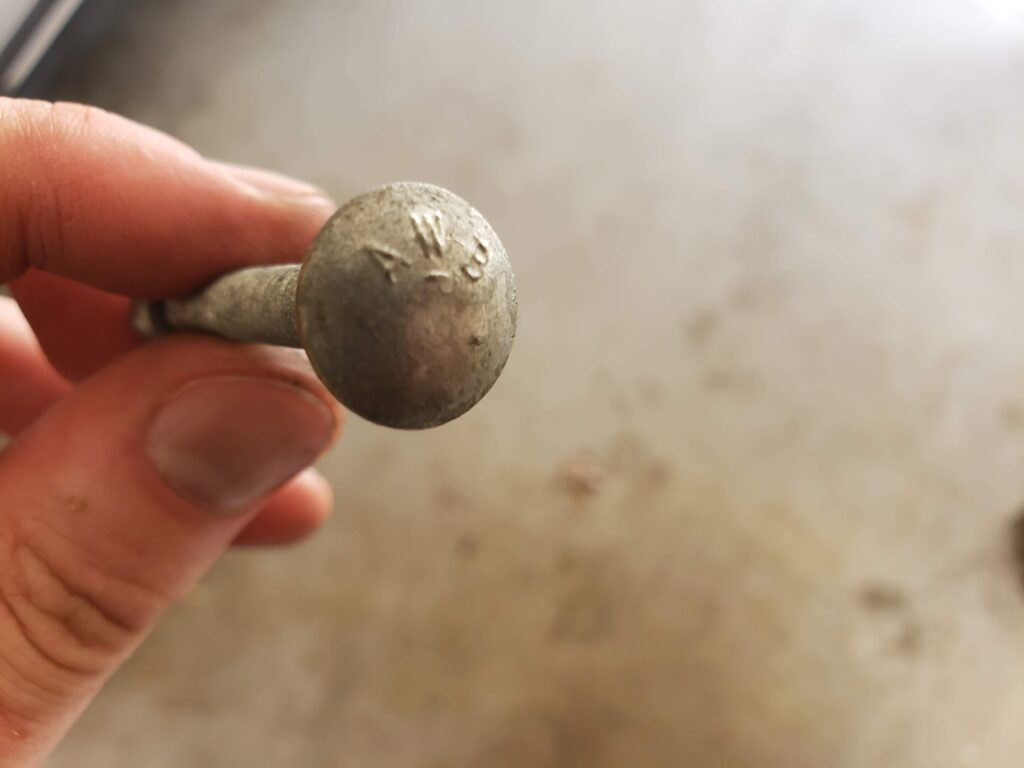
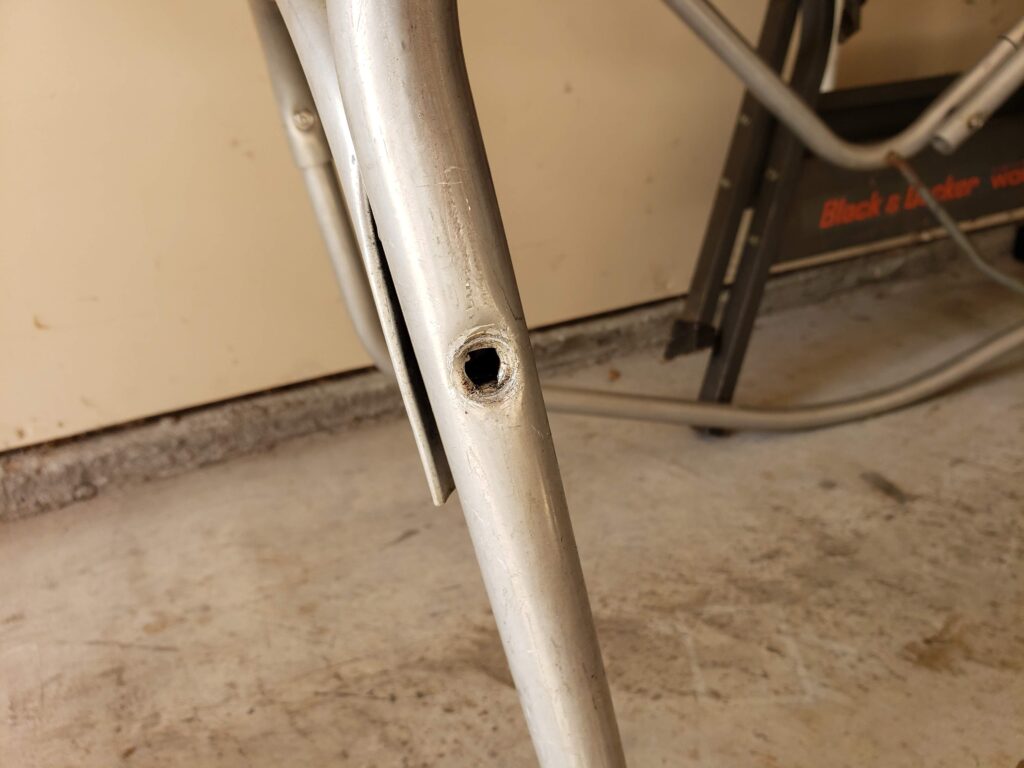
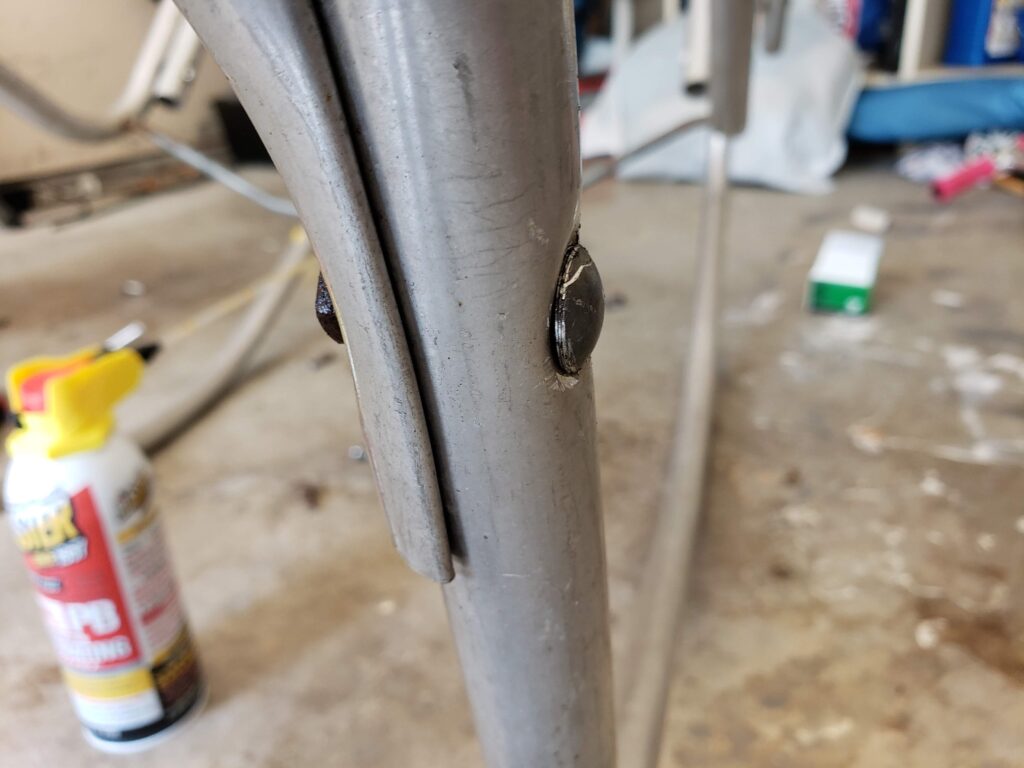
Unfortunately for me, my other frame was very difficult to remove the bolts. The holes in the frames are made in a square shape which holds the head of the carriage bolt in place. Unfortunately these can “strip”, just like a screw, and instead of holding the bolt in place, it will turn freely. For some of you reading this, it will not be worth the effort of replacing a bolt where the hole is striped. In my case, the bolts needed replacing as some of them were not properly tightened and the chair did not feel sturdy.
There are basically two options I can think of to remove a stripped bold w/o damaging the frame: 1) hold the head of the bolt in place with pliers or vice grips while turning the socket wrench. 2) use a hack saw to saw the bolt off. Please leave a comment below if there are other better ideas out there. We also tried using the WD40 penetration spray, but that didn’t seem to help. When I restored my first Barwa chair I did run into one hole in the frame that was stripped. I was able to hold the head in place by squeezing as hard as I possibly could with a pair of pliers while Amanda turned the wrench. On this new frame, I wasn’t able to make this work on a single one and resorted to cutting most of them off.
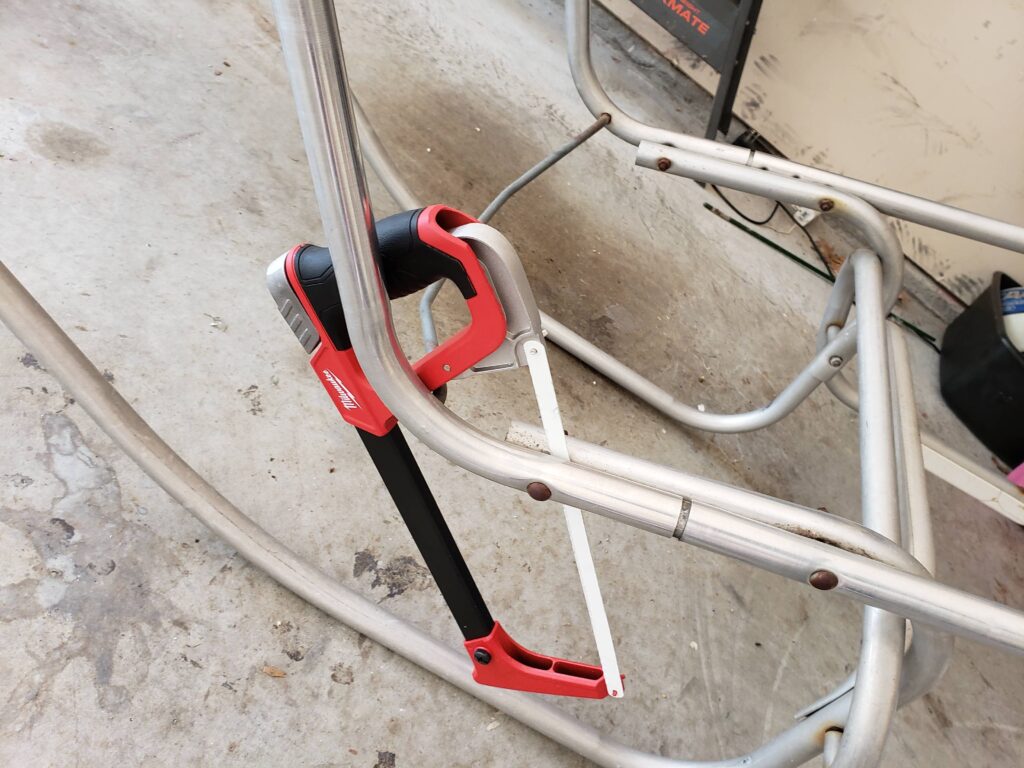
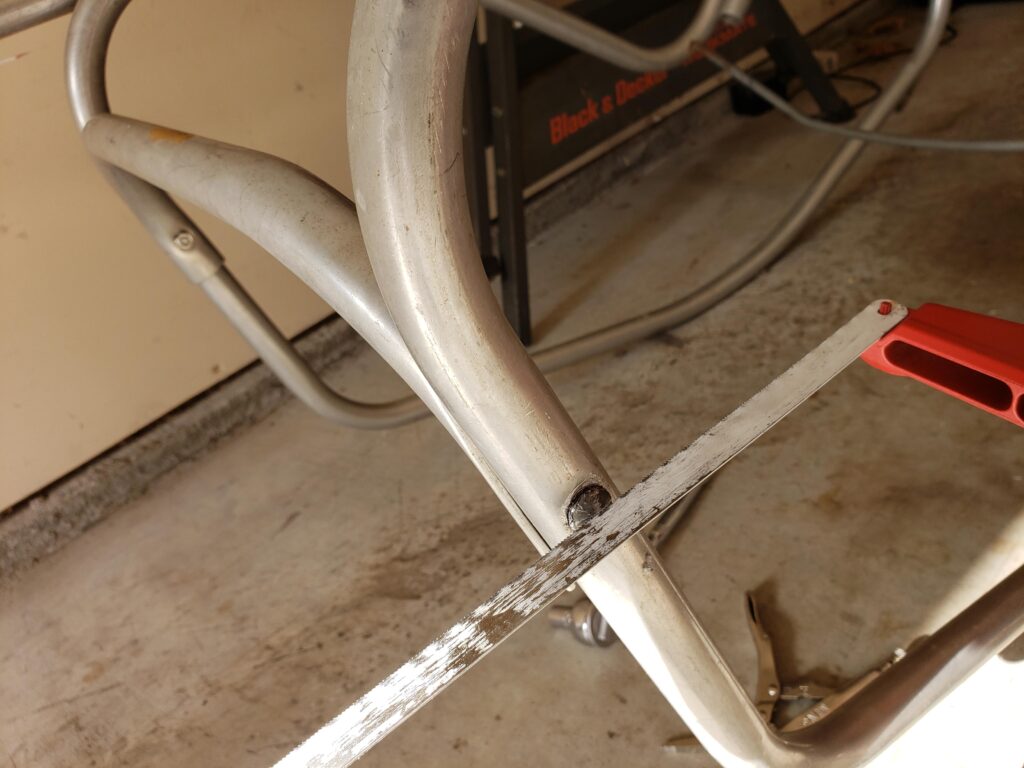
I picked up this hack saw for $20 at home depot. It worked well as it’s easy to remove the blade which had to be done for each bolt. I started on the bolts where the blade could be fed between the pieces of the frame. For some the teeth of the blade was “up” and others it was facing down like a traditional saw. It really depended on how I could get at the bolt. Once the blade was attached to the handle, simply start sawing while putting pressure toward the bolt. I found the bolts were much easier to cut through than I was expecting.
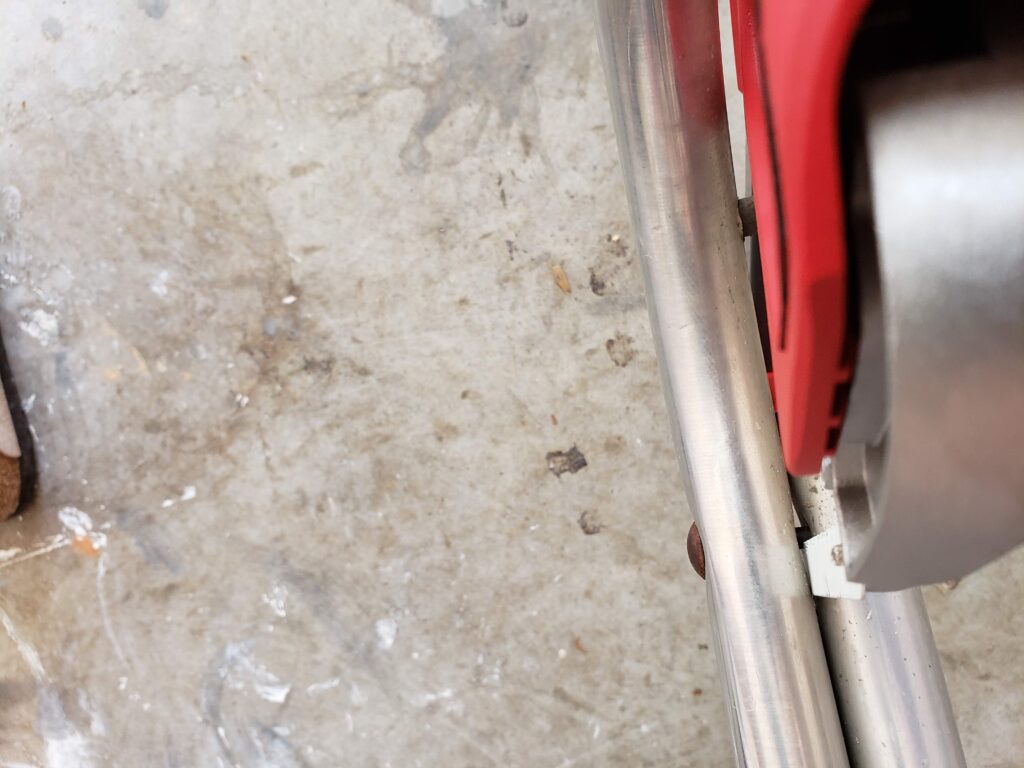
There were sections of the frame where the blade couldn’t freely fit between. For two of these I was able to use a washer as a spacer to provide just enough clearance for the blade.
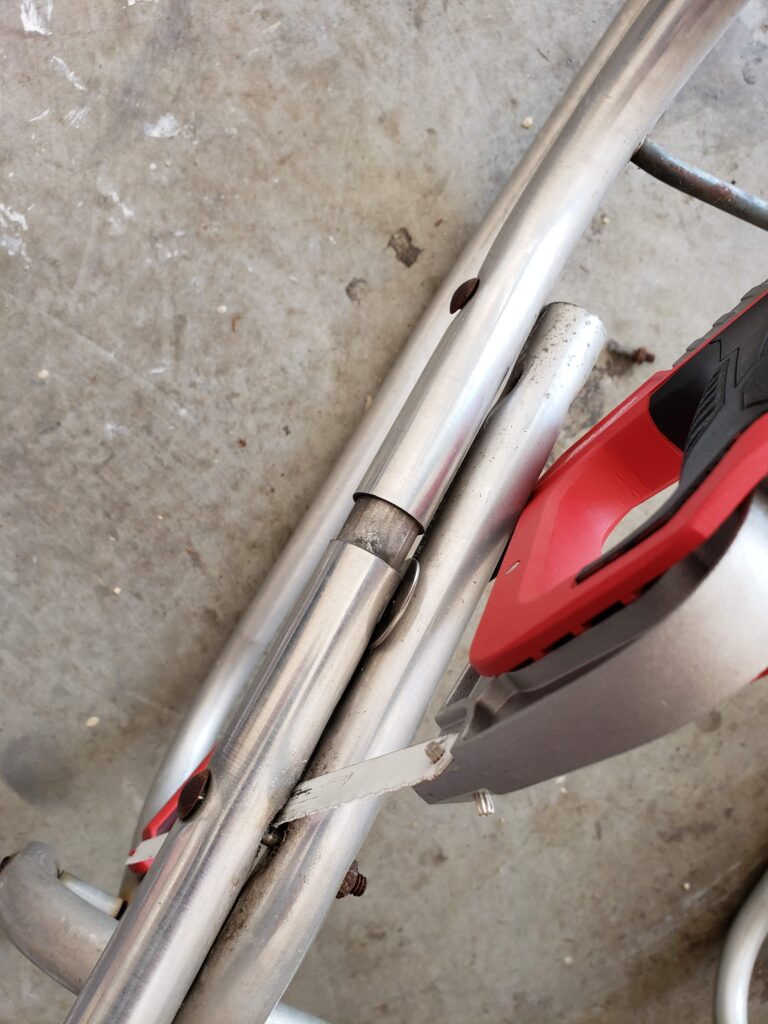
There was one section of the frame where I couldn’t use the saw handle and I had to hold the blade in my hands while sawing. It’s best to avoid that, but it really wasn’t too bad to get through. The most difficult one to get off was one on the legs where there was no way to use the saw.
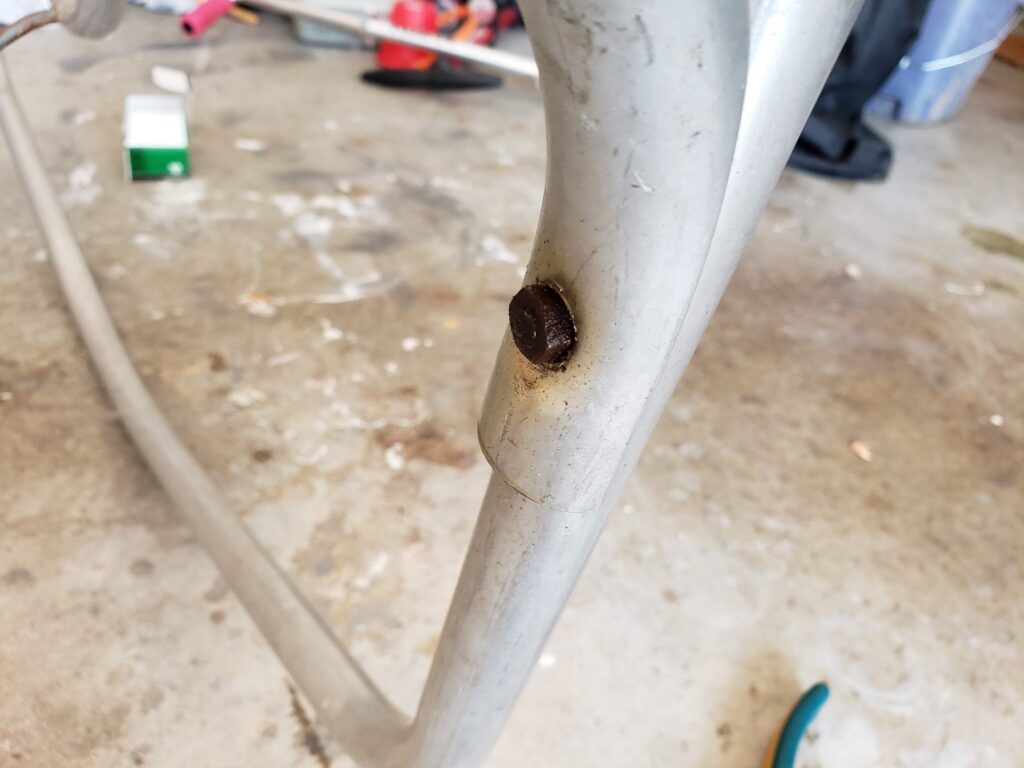
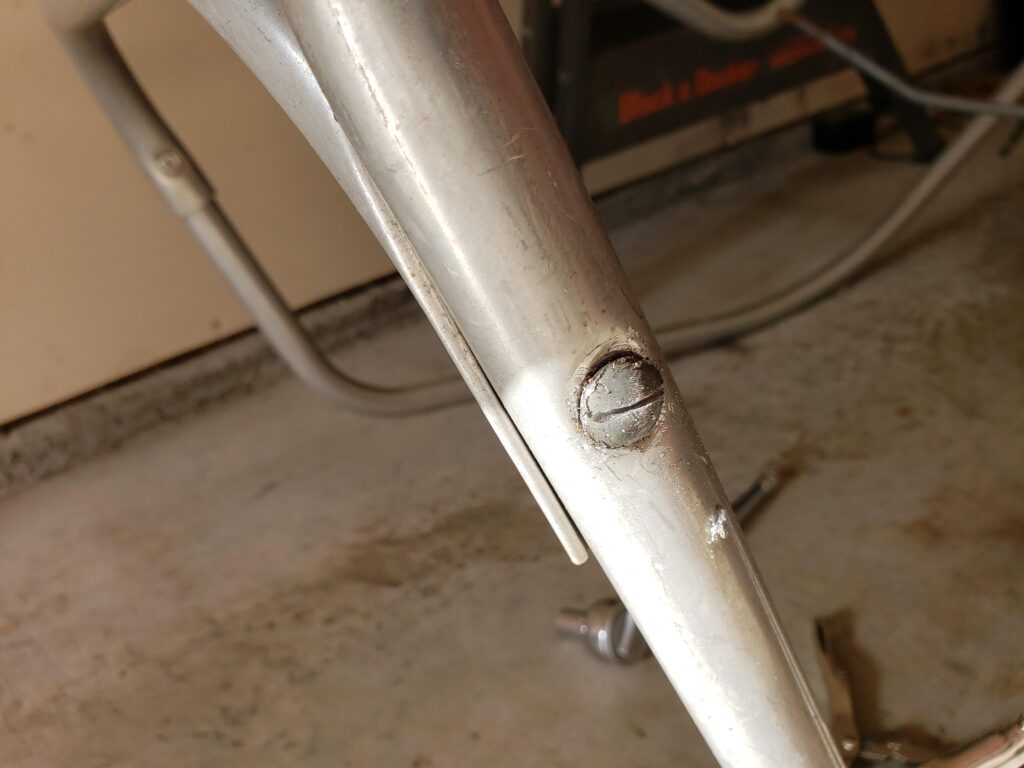
As the blade cannot pass between the metal we have to hold the head. I was unable to hold it still using pliers or vice grips so I got the idea to cut a slot in it and use a flat head screw driver to hold it instead. This idea worked, but it was challenging. I tricked a family member to hold the frame steady while I carefully cut the slot using my hack saw. To ensure the slot was wide enough for a screwdriver, I cut at different angles to widen the slot as I went.
This bolt was so tight and had so much rust on it that it took two of us to get it off. We weren’t able to hold the screw driver steady and instead used vice grips on the screw driver for more leverage. My brother-in-law pushed the screw driver very hard into the frame while holding the vice grips steady with his other hand. I was pushing the opposite direction on the other side of the frame while turning the wrench. It worked really well, but keep in mind that this was not a one person job and was pretty difficult.
So, is it worth it to replace the bolts?
Yes, definitely. While there’s a chance it won’t be an easy job, it is something that you only need to do once, assuming you use a high quality stainless steel material. If you decide this is something you want to do, I recommend getting a friend or neighbor who’s mechanically inclined to help. Chances are they will enjoy the challenge and it will be much easier with two people working on it. Hopefully your frame is in good shape and this will be as simple as removing the nuts with a socket wrench and moving on with life.
Glad to find your site! What a great idea to be an all-service BARWA resource! Where are you located? What is your price and wait time on covers? I’m most interested in the cotton/canvas.
Im in SoCal. I sure miss Christie Covers. . . . . in LA…
Hey Kevin! Thanks for reaching out. I agree Christie’s made great stuff. Amanda and I are in Frisco, TX. We are getting really close to fulfilling the waiting list and we hope to launch the rest of the site in a couple weeks. We’ll have pricing and everything posted at that time. If you can give us 2-3 weeks, we’d love to make you a new cover.
One alternative to the Hacksaw approach is to use “Easy Out” Screw Extractors. You drill a pilot hole into the bolt head (the kit tells you which size drill bit to use for each Extractor size), then install the Extractor. It bites into the bolt material in a counter-clockwise manner, getting tighter as you try to loosen the bolt.
Using WD-40 or another specialized “penetrant,” might require several applications and an overnight or too. Patience is required!
Question
Just bought one. The two ends of the frame at the bottom, which bolt — with a single bolt — into the seat frame, aren’t as curved down at the ends as the ones photographed by you are, and so stick up a bit into the canvas cover. Have you encountered before or know any solution? Worried about it wearing away the cover, which it would probably cut if the ends weren’t capped. Thanks!
Hey Tom, I’m not sure I’m picturing the right thing in my head. Can you send a picture to barwachair@gmail.com? I’m happy to take a look.
Cheers,
Ben
[…] note that rusty bolts can be very difficult to remove and may require sawing off in some cases. You will need a box that’s a minimum of 45x8x24. We use this box from Uline, but […]